![Swim Nappy Bundle [Ship Oct 5 - 10] - Mimi & Co](http://mimiandco.com.au/cdn/shop/files/swim-nappy-bundle-ship-oct-5-10-5796576.jpg?v=1770171125)

![Toilet Training Undies Pants [Jan Preorder] - Mimi & Co](http://mimiandco.com.au/cdn/shop/files/toilet-training-undies-pants-jan-preorder-6316642.jpg?v=1766216229&width=1200)
![Reusable Bamboo Mimi™ Wipes [5 Pack] - Mimi & Co](http://mimiandco.com.au/cdn/shop/files/reusable-bamboo-mimi-wipes-5-pack-7600782.jpg?v=1773649075)


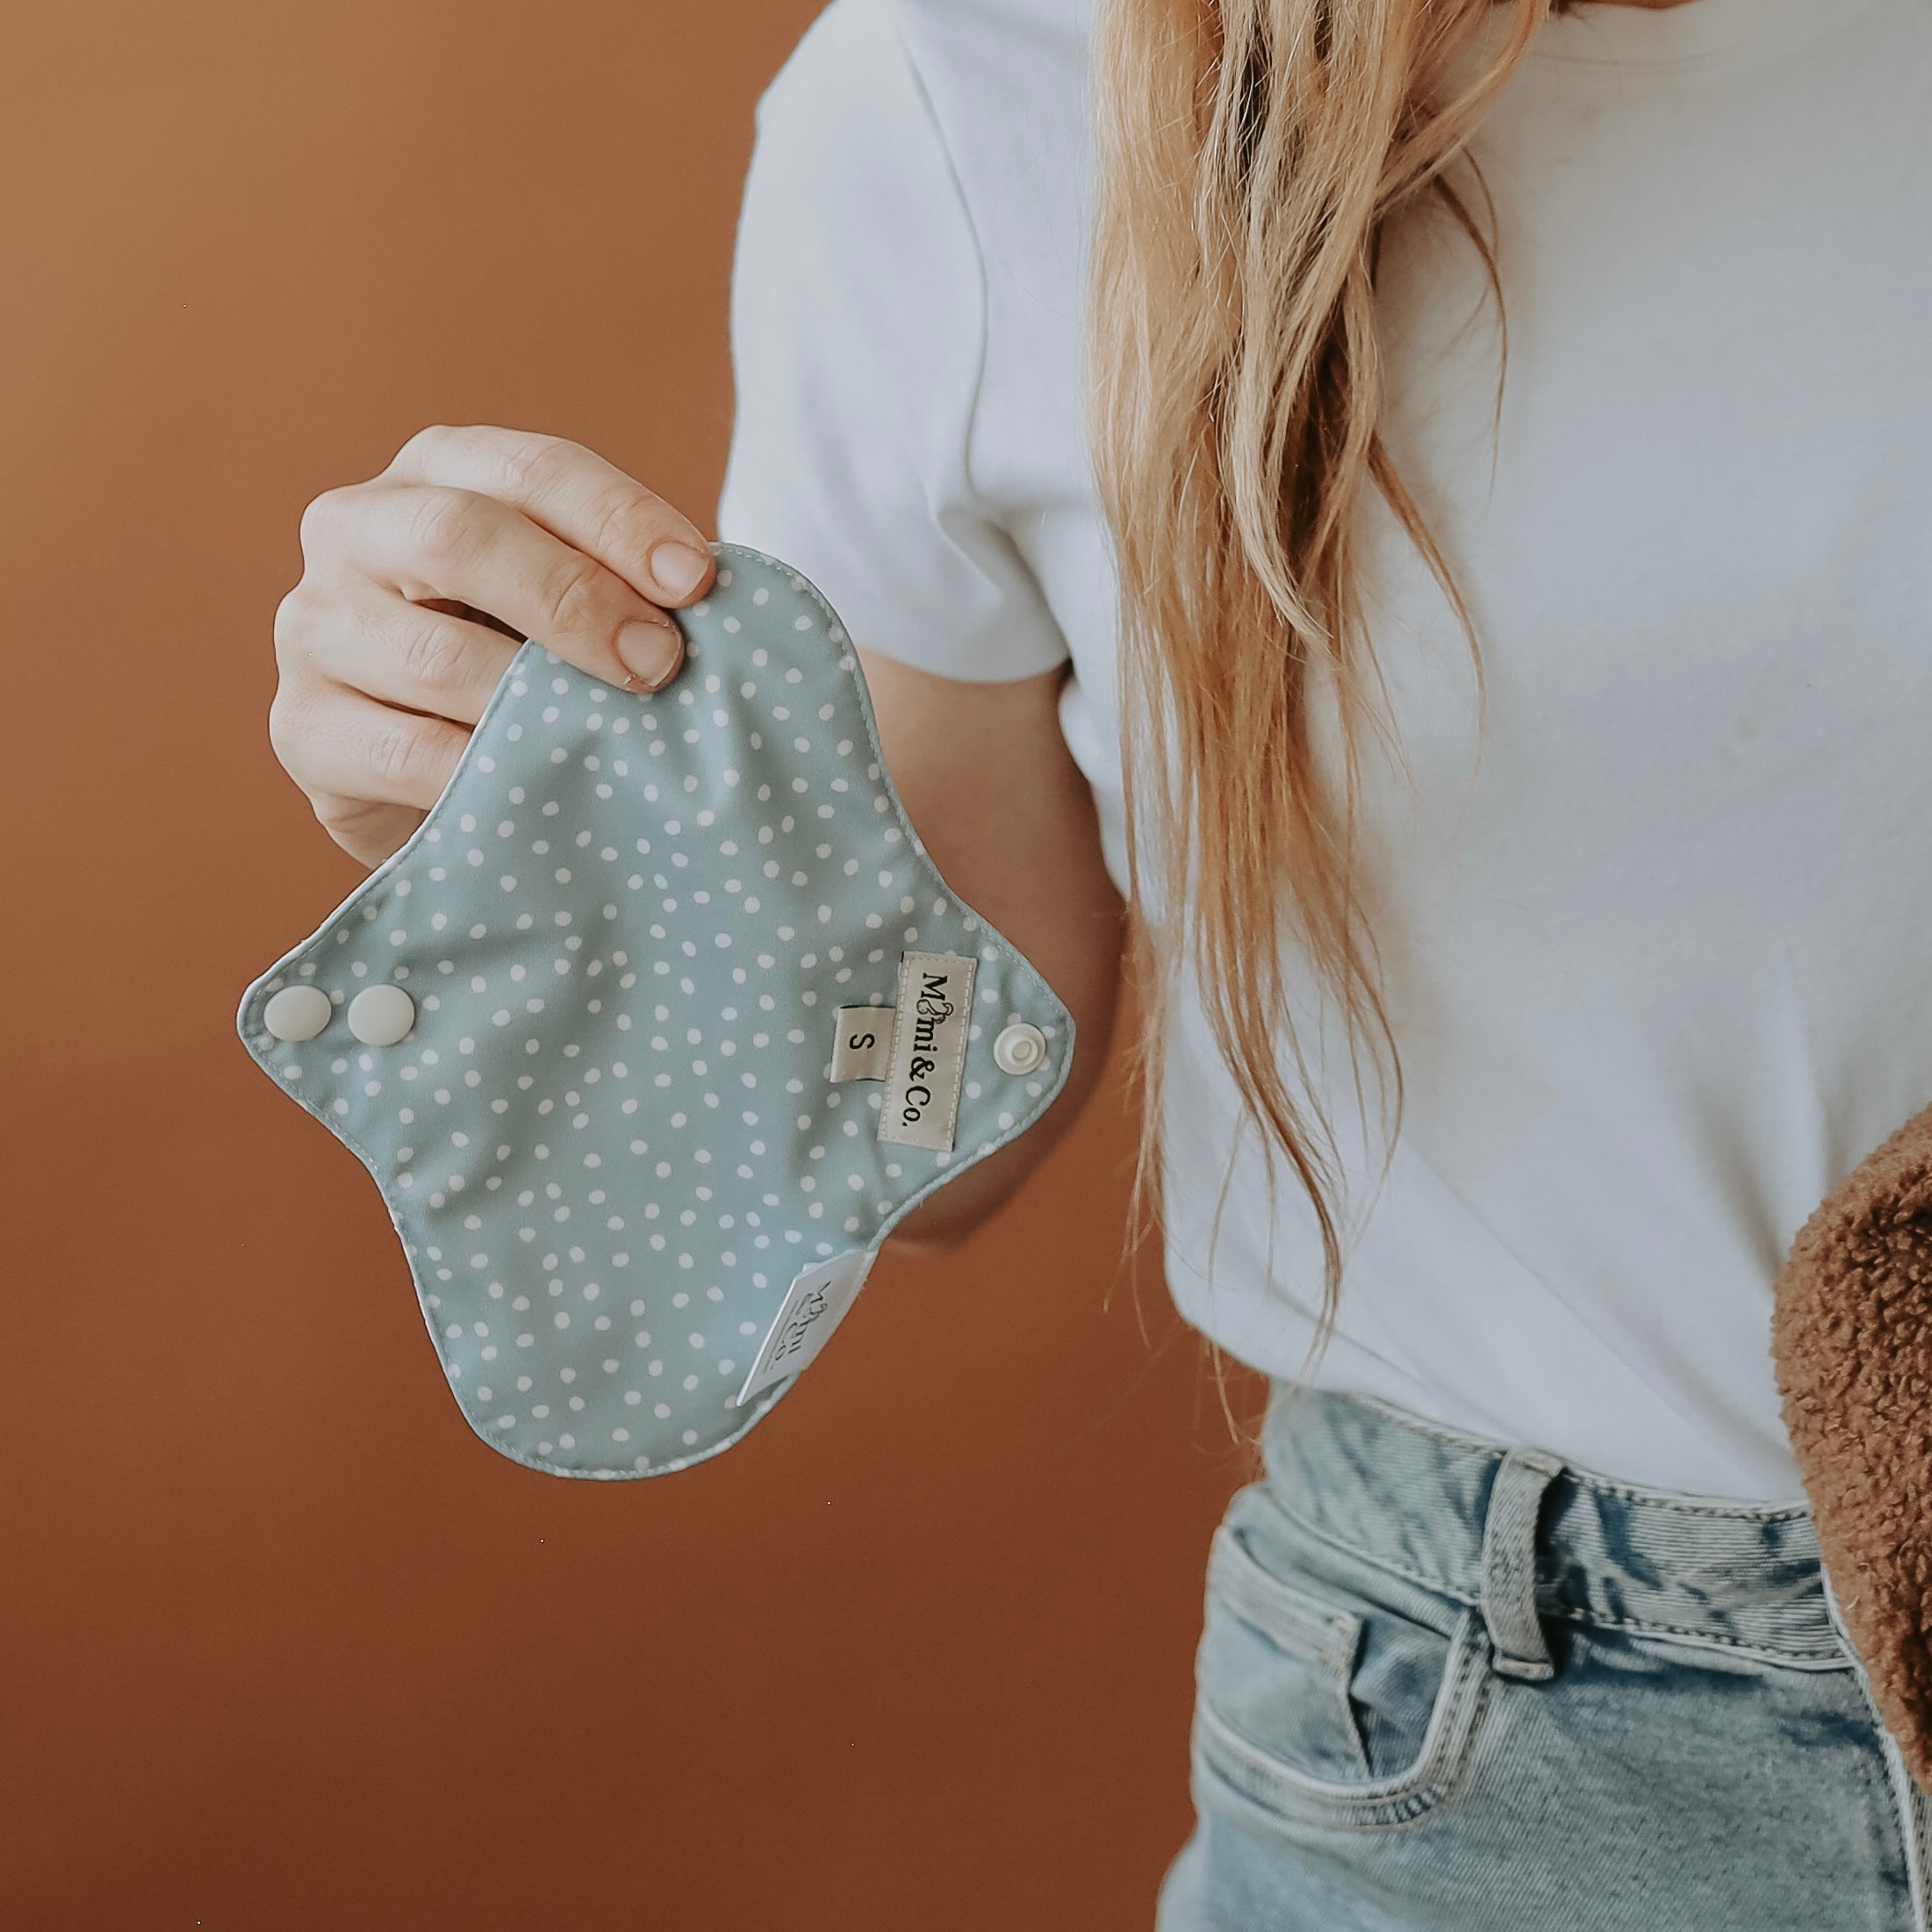
![Reusable Mimi® Menstrual Underwear [Shipping 31/9] - Mimi & Co](http://mimiandco.com.au/cdn/shop/files/reusable-mimi-menstrual-underwear-shipping-319-6508918.png?v=1776734572)


![Tiny Transitions™ Training Undies [January Preorder] - Mimi & Co](http://mimiandco.com.au/cdn/shop/files/tiny-transitions-training-undies-january-preorder-9963304.jpg?v=1768434261&width=104)


![Travel Bamboo Change Mat [Ships March 14th] - Mimi & Co](http://mimiandco.com.au/cdn/shop/files/travel-bamboo-change-mat-ships-march-14th-1490896.jpg?v=1769606287&width=104)

![Reusable Bamboo Mimi™ Wipes [10 Pack] - Mimi & Co](http://mimiandco.com.au/cdn/shop/files/reusable-bamboo-mimi-wipes-10-pack-2507756.jpg?v=1773666247&width=104)
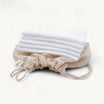
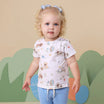
I was so impressed with these pants! My daughter is 3.5 years old hated the potty so I was unsure about jumping straight into pants. One month on… Jasmine is now comfortably using the toilet. No accidents at bedtime. And more comfortable with number 2’s.
My daughter is very picky, cautious and needs to feel in control and safe.
These pants have been a godsend
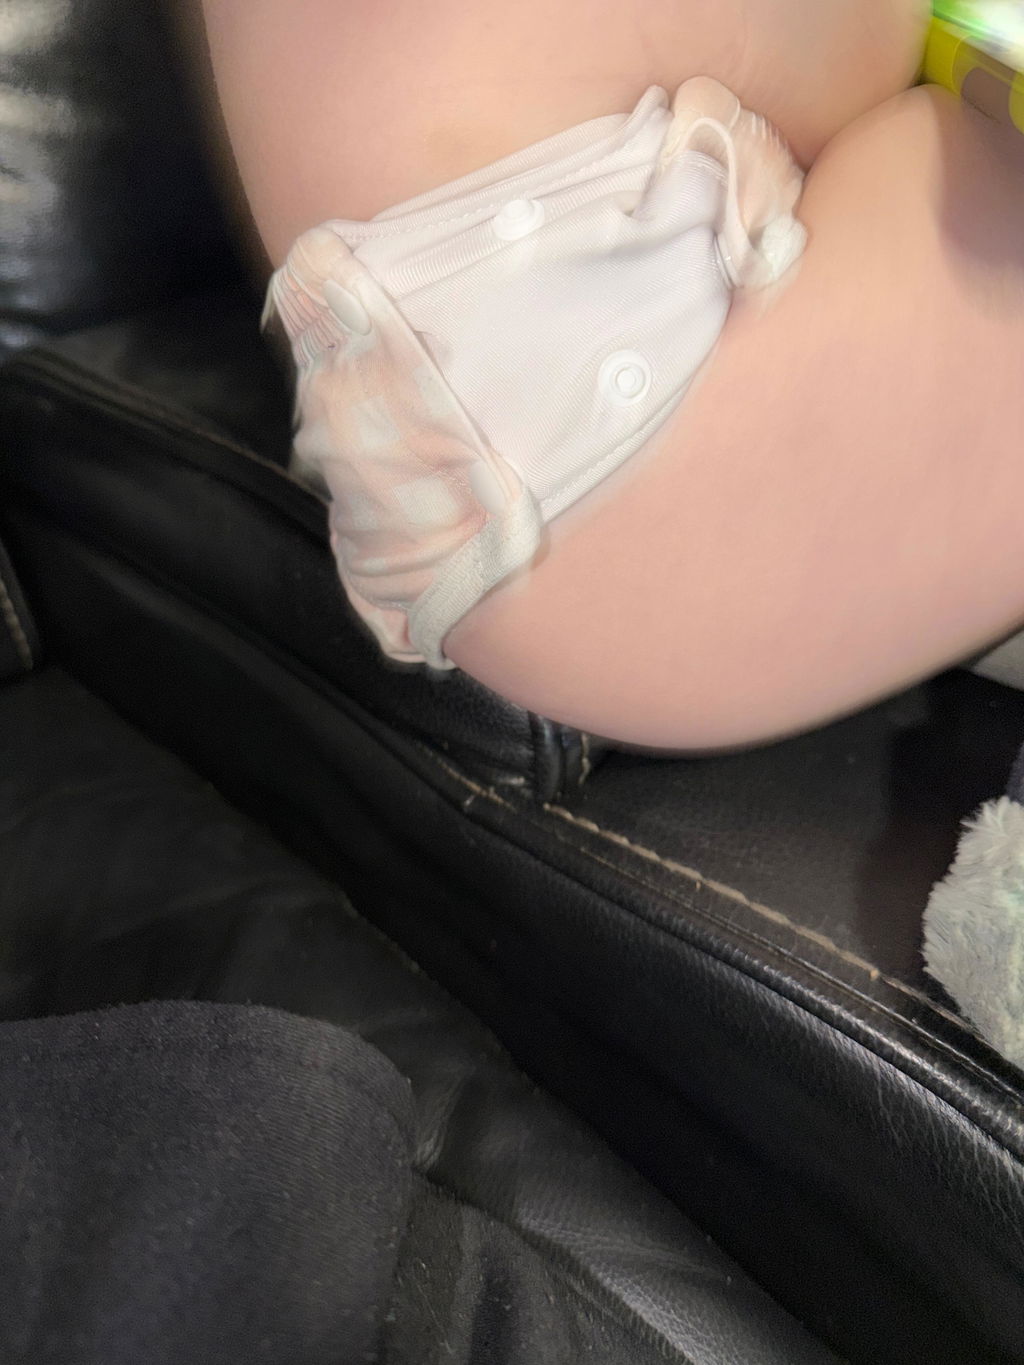
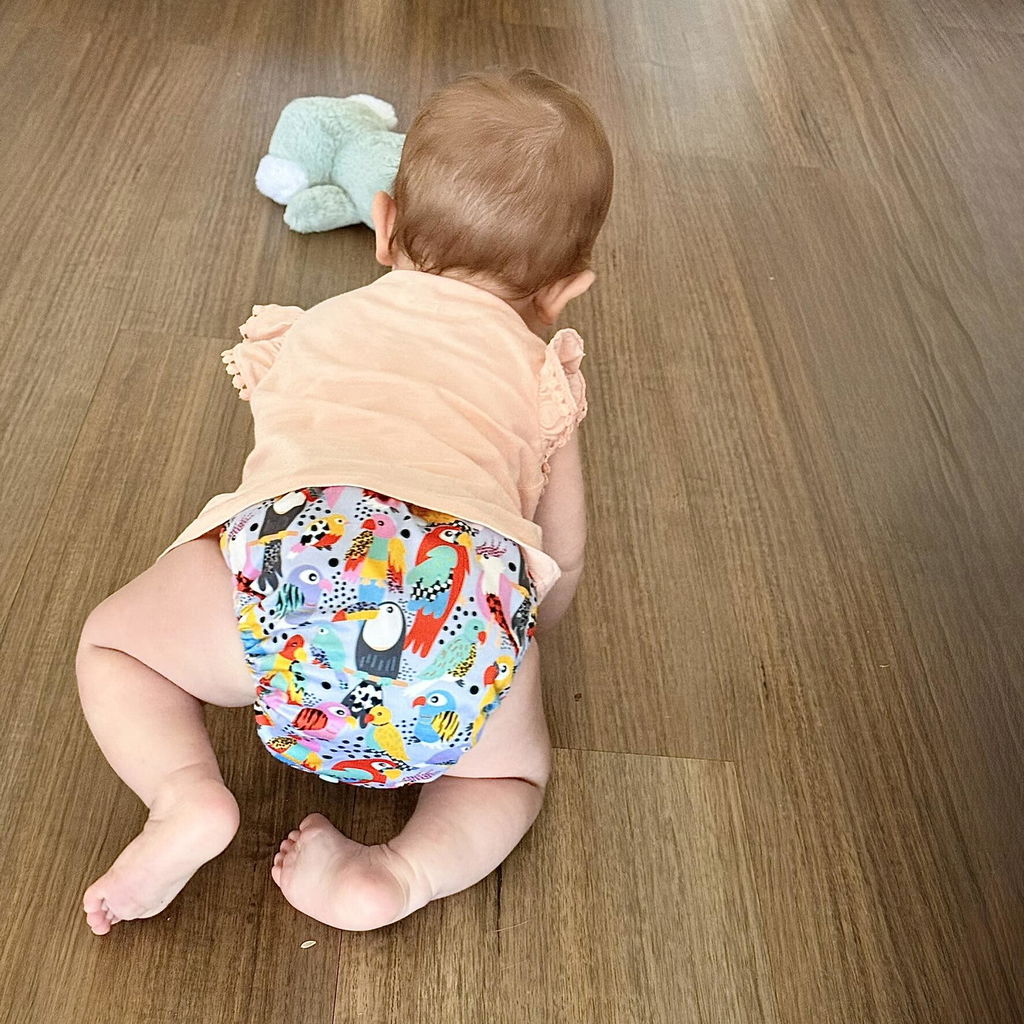
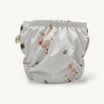
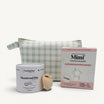
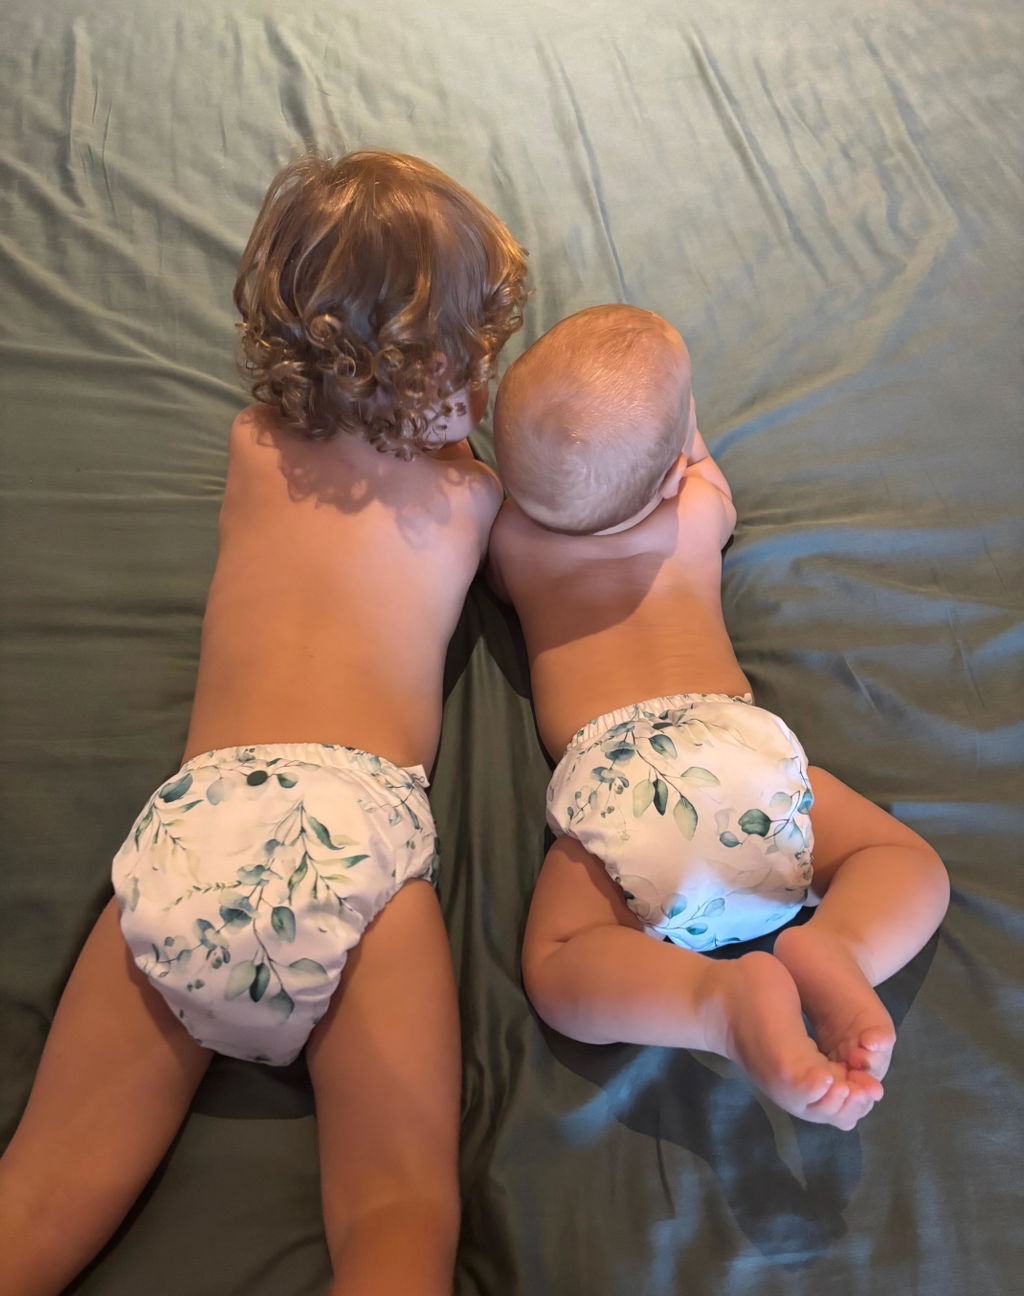
Half of my nappy stash is now Mimi and Co and I'm hoping to replace the other 15 over too! I love the absorbency, ease of closure, the cutest designs in any MCN brand and MOST importantly, no leaks! Everyone recommends these nappies for a reason, trust me you won't regret it! My golden haired girl in her golden nappy for reference ☺️
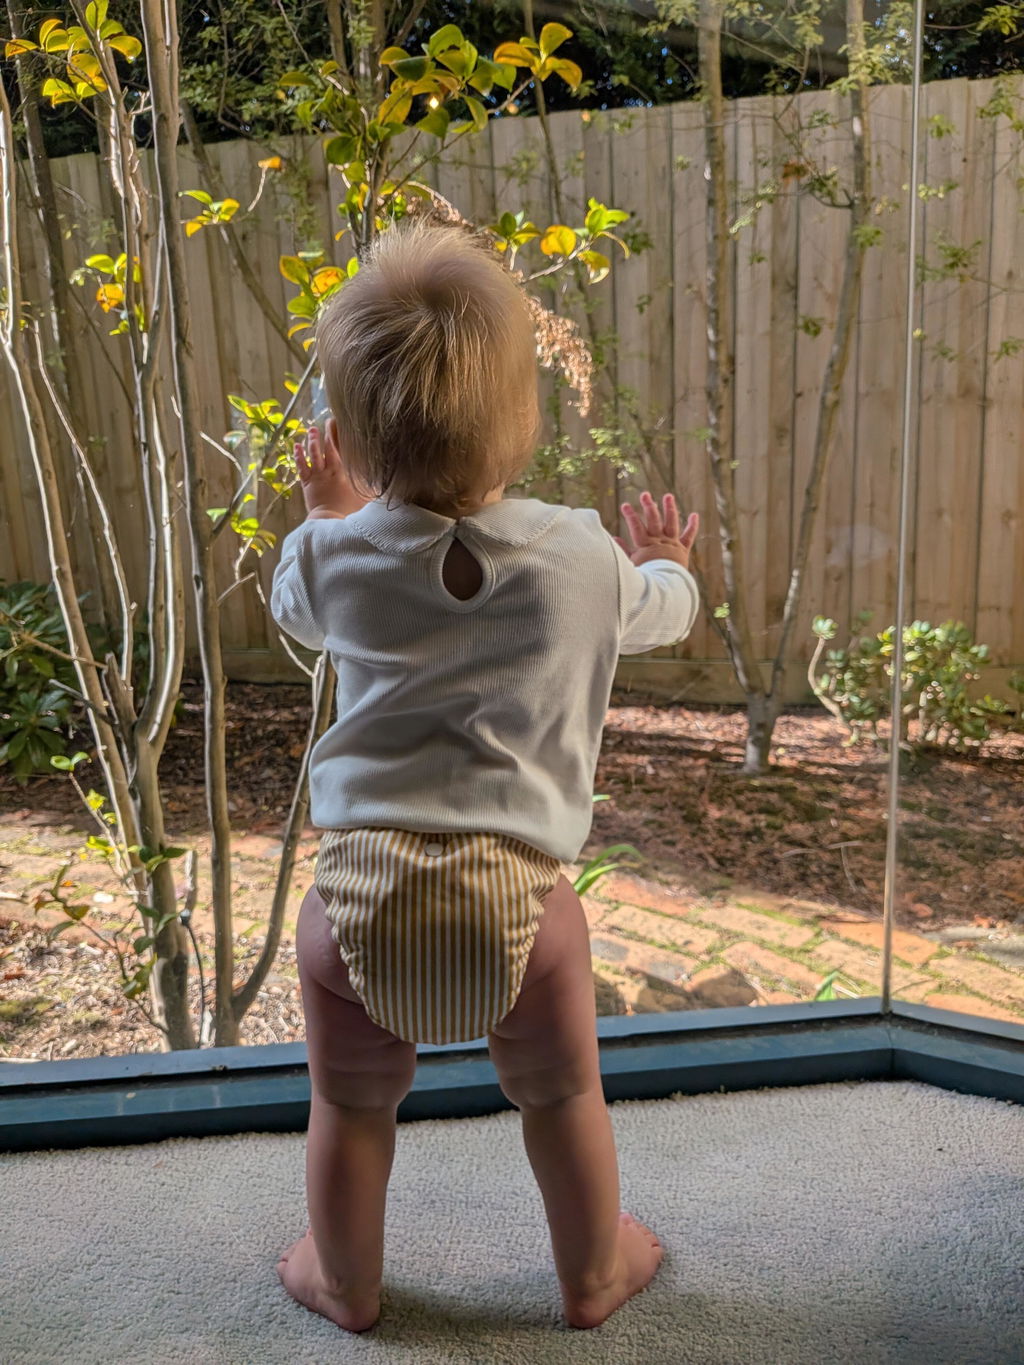
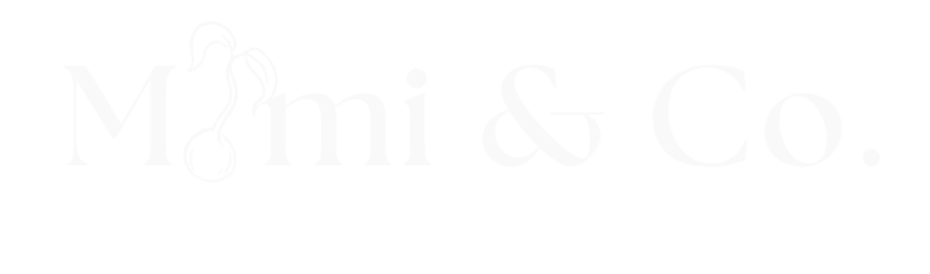
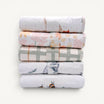
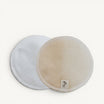
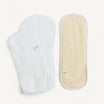
Easier than you think to convert to cloth wipes from disposable! These do such a much better job of cleaning up number 2’s than the disposables and they really are just so easy to incorporate into your routine.
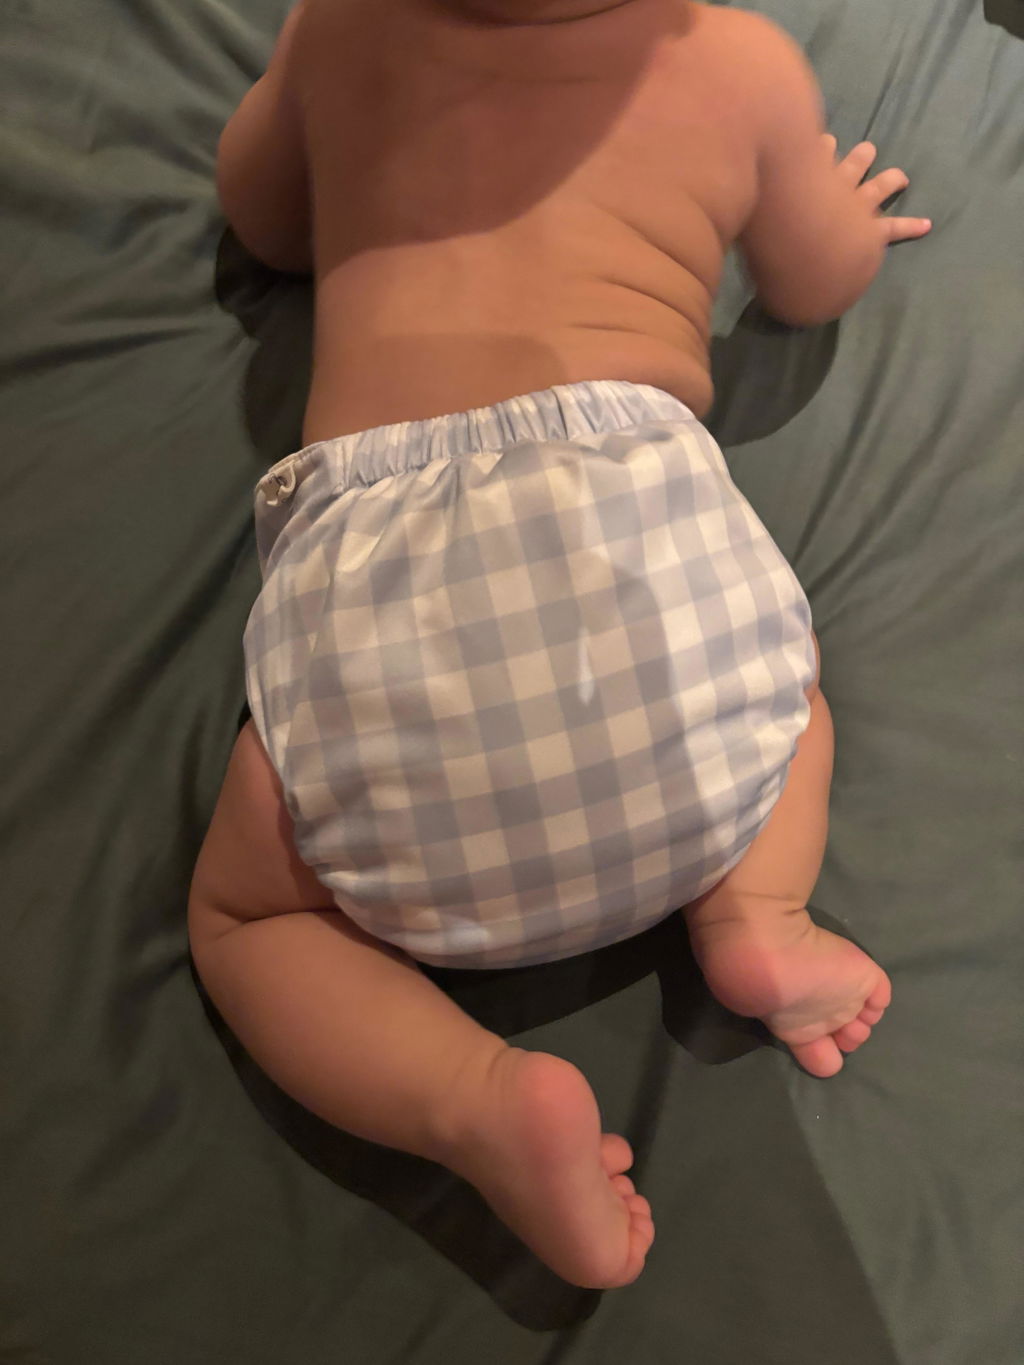
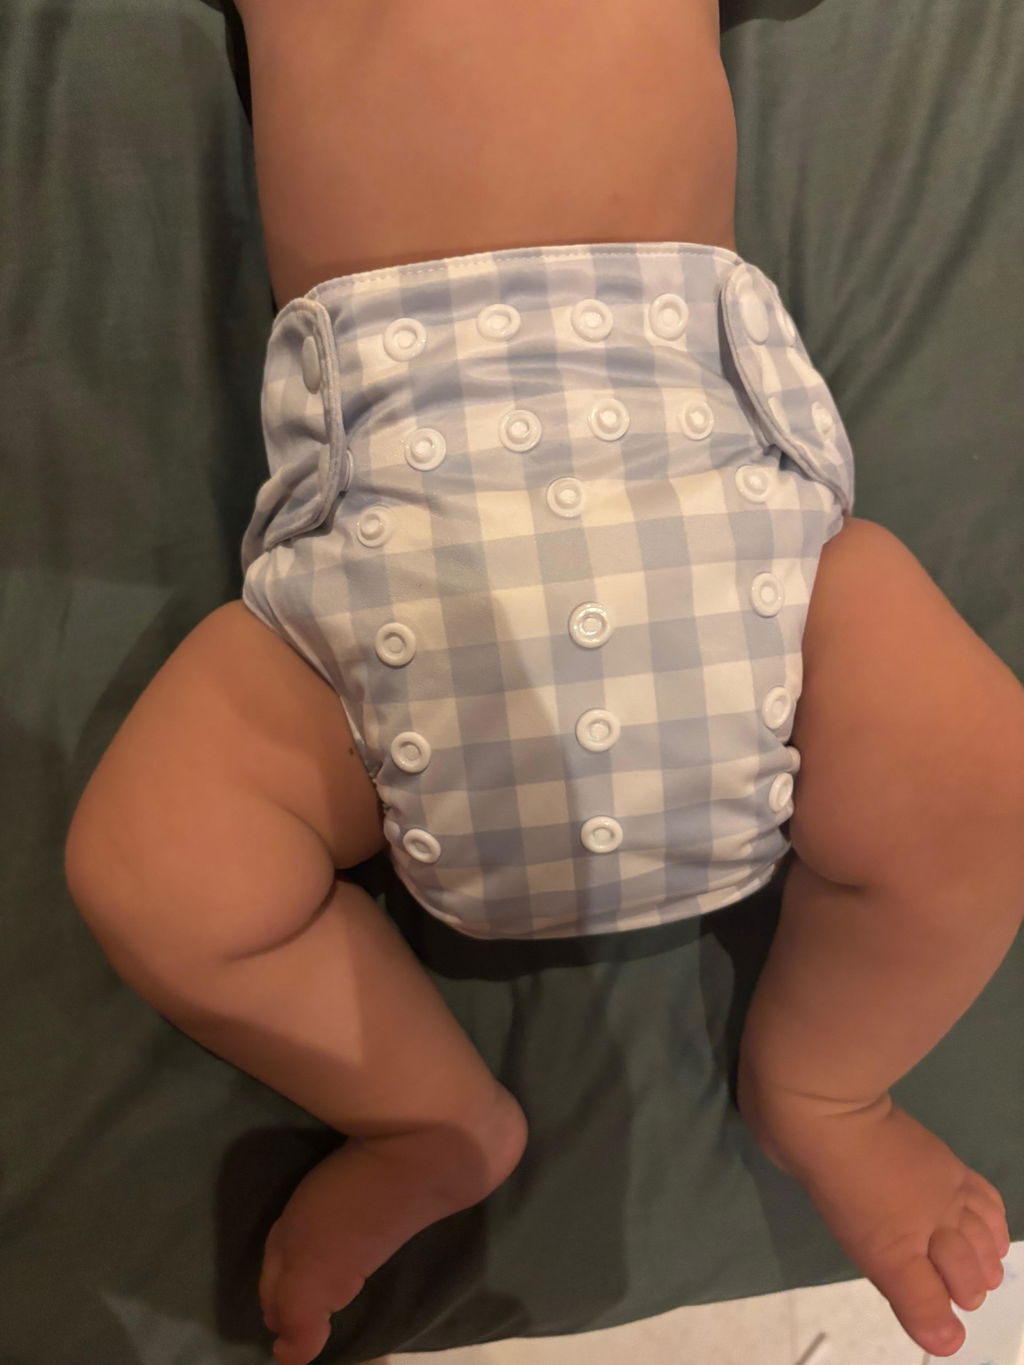
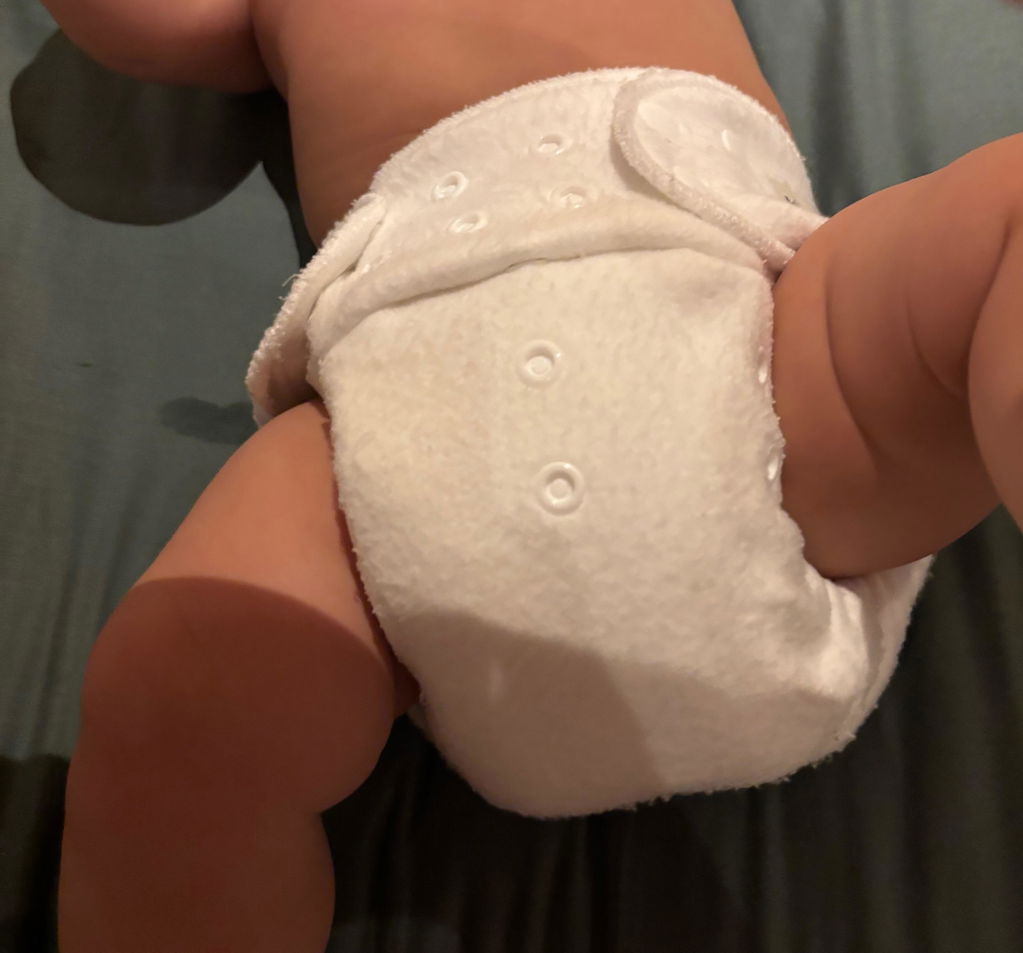
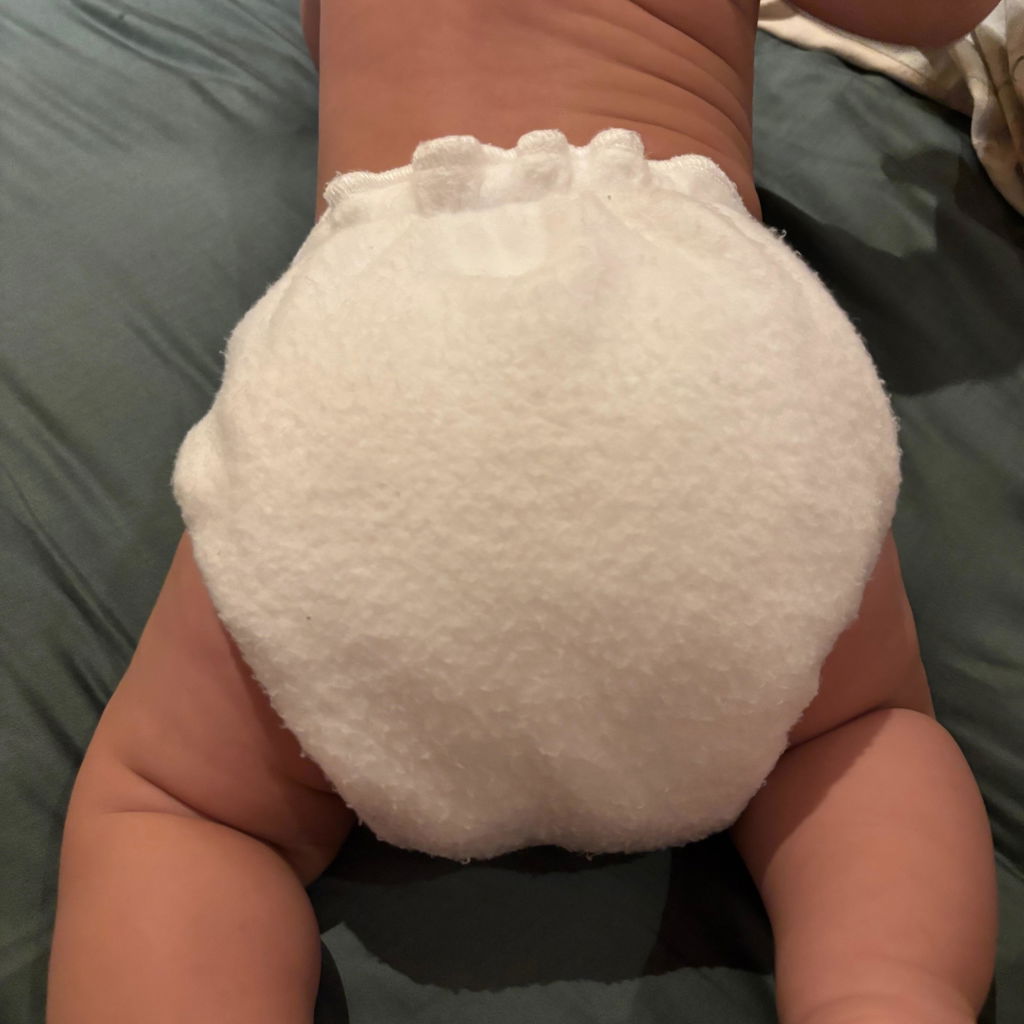
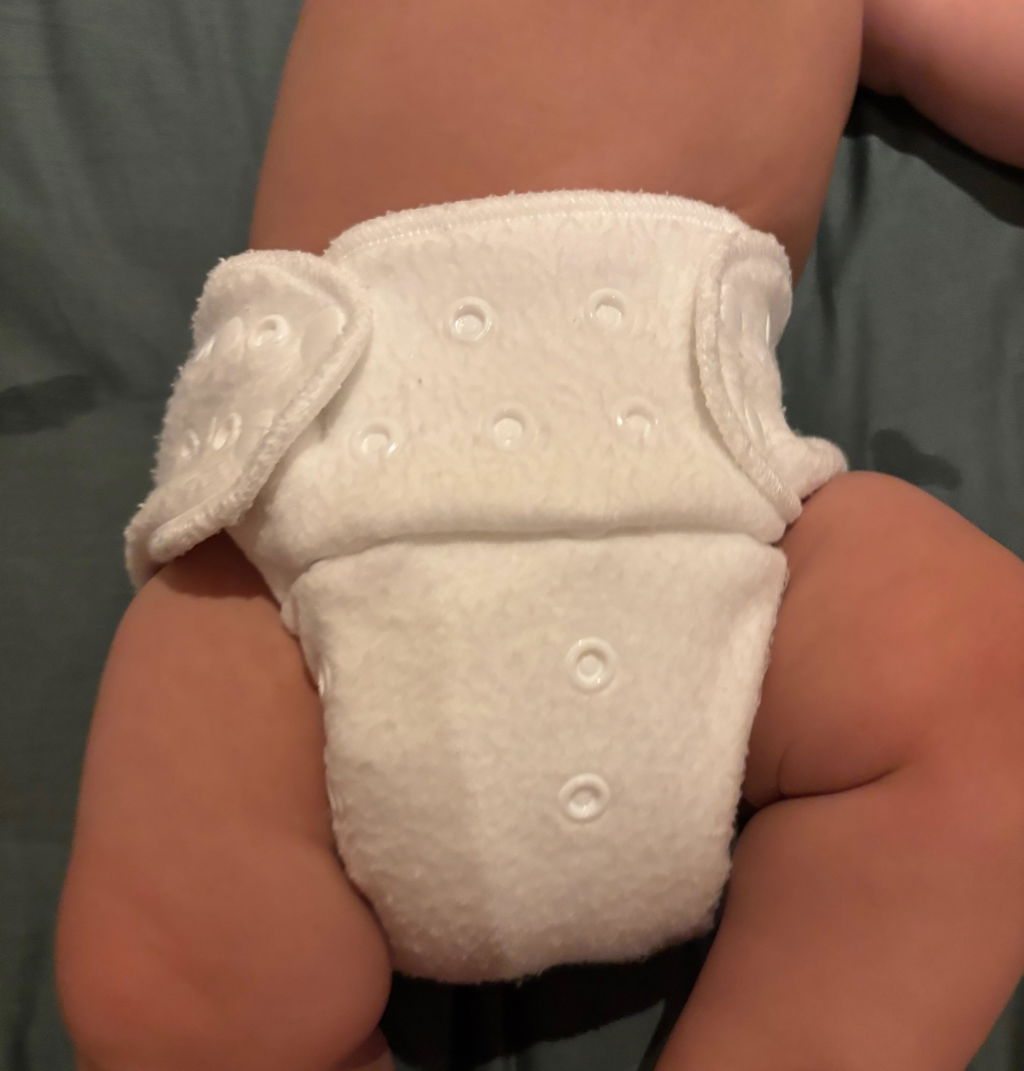
Mimi’s 2.0’s are the best! By far the best fitting nappy from a skinny newborn to chunky baby and then toddler years. The more slender wing design means they fit so much better than other brands. My only regret was not purchasing them sooner!
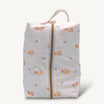
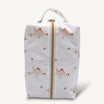
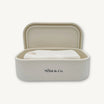
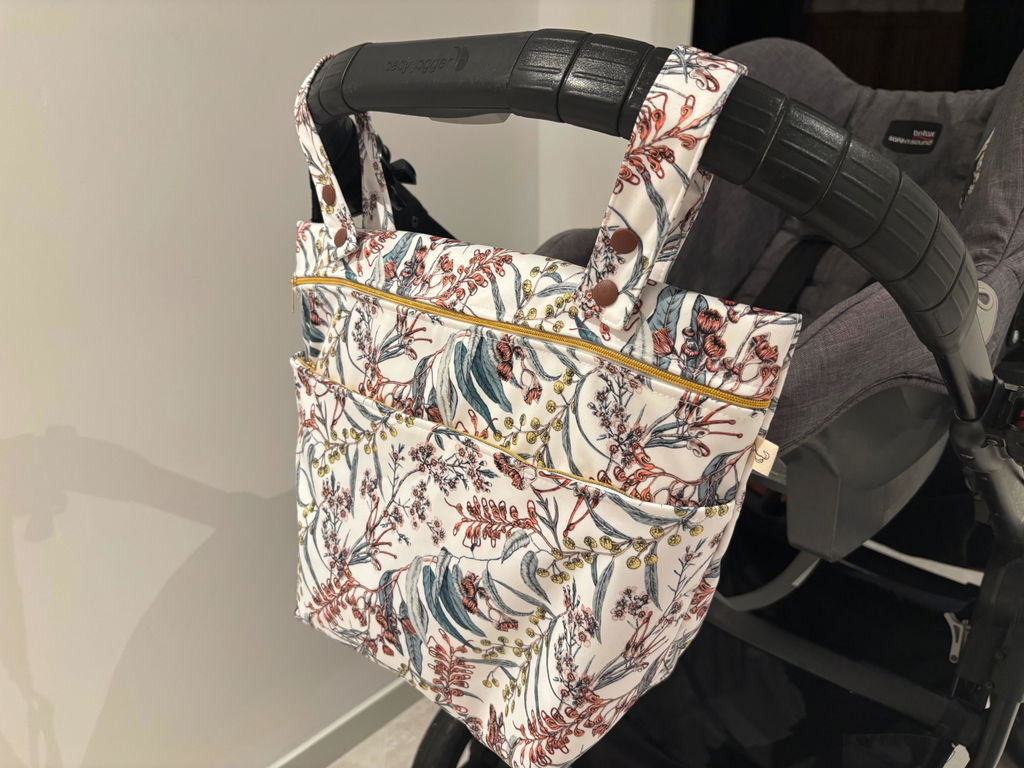
High quality wet bag perfect for nappies or swim trips. Thick material that contains all moisture and smells. Great that it can hand off the pram!
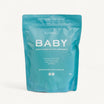
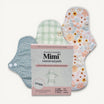
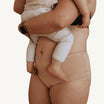
High quality design, I haven’t had any leaks!
These are really great for heavy wetters. Getting the fit can take a bit of practice but I never have any leaks!
I adore the Penny cloth nappy print!! It's become my favourite in our collection. After trying the bamboo terry inserts with this nappy, I don't think I can go back to the 'old' style inserts as nothing compares to the softness, flexibility, and moldability of bamboo terry. I feel like bub gets a much more comfortable fit with the bamboo terry inserts!